|
0. Before you start UNINSTALL the GUI version of SETI if you
have it installed.
1. Create a new folder (note I created "SETI@home"
in "Program files"). Download and put the CLI version
into that folder.
2. Download SETIDriver and SETISpy (UnZipping
as needed) the files into the new folder.
3. Run SETISpy. Click 'I AGREE' when needed.
4. After you run SETISpy you will see an Error
Message. Click "Ignore".
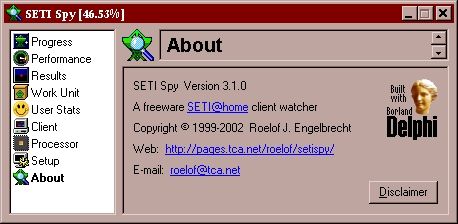
5. Click on "Client" from the list
on the left hand side (see below):
6. You should now see the SETISpy client
page. Click on the "Configure" button (note
you may not yet see stop and restart buttons):

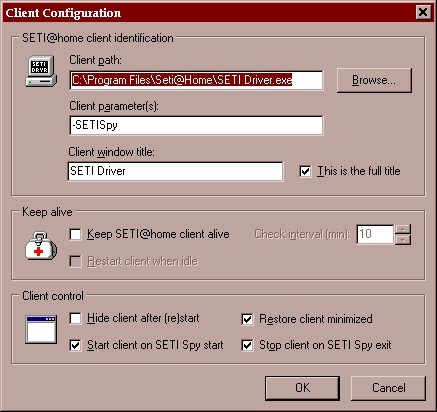
7. The Client Configuration Page appears,
fill it out as follows (note the path needs to have the path
to YOUR Folder where Driver is):
8. Click ok (the stop and restart buttons
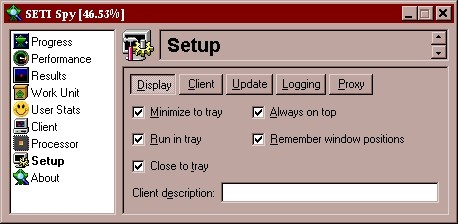
appear now, but don't worry about them). Now click on
"Setup" and set Display as follows:
9. Now click on the tab "Client" and
set as follows:

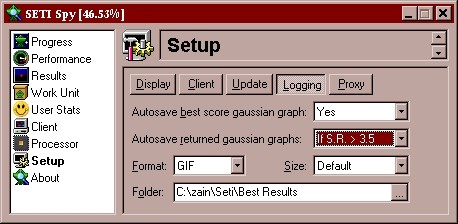
10. While you are there you may as well set
SPY up to save Gaussians (so you can submit then to out site
rankings!)
Click on "Logging" and set as follows (note you may
need to CREATE an appropriate folder to store them in like
below):
11. Close and restart SETISpy. The
following images will appear in your system tray (if they
don't check steps 1-10):

12. Double click on the SETIDriver icon
(little red one) the following screen appears.
Set Priority to Normal, Desired Cache to 1

Set Priority to LOW, Desired Cache to 1,
Display transmit to Yes, Hide Processing to No and Use SETISpy
in Progress Monitoring.
Then click on "Save Config". Following that
click "Transmit" (NOTE a DOS box will appear)
(NOTE: Setting it to Normal or High Priority
won't yield any benefit when the computer is idle and may
cause your computer to freeze or slowdown when you try to use
your computer)
13. The following SETI DOS box
appears. If you have a SETI account already press 2 then
your email address.
If you don't have a SETI account, press 1 then follow the
instructions.

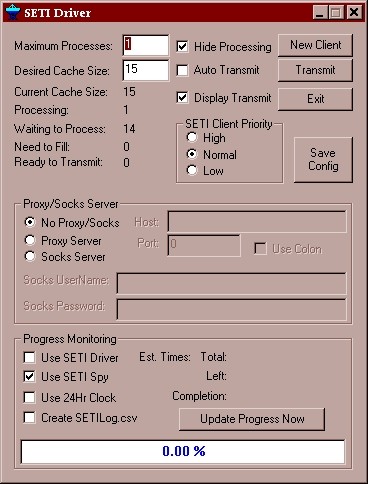
14. At this stage you have a work unit stored
and processing. Personally I now set up SETIDriver as
follows:
Note I have a Cache size of 15, at 10 hours
per work unit on my 600MHz that is about 2 weeks worth of Work
Units... just in case. I wouldn't go ANY higher than
that because if you take TOO long to process a unit SETI
resends it do another user.
If you do have a permanent connection, you can
leave "Auto Transmit" on. Personally though I
like doing it manually. Whenever you do transmit results
DOS boxes appear and disappear. All perfectly normal.
15. Put a shortcut to SETISpy in your STARTUP
folder. That way every time your computer is turned on
it all starts up perfectly. To shutdown the whole thing
(say before a reboot) just close SETISpy (and spy will close
driver, and driver will close the CLI). That is
it! Easy no? *grin*
If you have any problems at all doing this,
feel free to read post a note on our FORUM, or email me
personally at [email protected]
|